Quick answer
The leaves are turning and overnight lows are dipping toward freezing — that’s your cue to close. Done wrong, you reopen to a green swamp and a cracked pump housing costing hundreds. Done right, winterizing is a clear sequence: balance the water, lower the level, drain the equipment, blow out and plug the plumbing, then cover it. Saltwater pools add one step — pull and store the chlorine cell. Close when water drops below 65°F.
What this is not
Winterizing gets confused with a few other off-season practices. Here’s what it isn’t:
- Not draining the pool. Lowering the water 4-6 inches below the skimmer is correct; emptying the pool is dangerous. An inground shell with no water weight can be pushed up by hydrostatic groundwater pressure until it cracks or pops out of the ground — a five-figure repair.
- Not just throwing on a cover. A cover alone doesn’t protect anything. The chemistry balancing, equipment draining, and line blowout are what actually prevent freeze damage and spring algae. The cover just keeps debris out.
- Not off-season maintenance in warm climates. If you live where it rarely freezes (South Florida, deep South Texas, Southern California), the pool usually stays open year-round with reduced pump runtime and lower chlorine demand. That’s a different routine — see our weekly pool care schedule for that.
- Not the reverse of opening. Opening is a one-day startup; closing is freeze protection plus a chemistry hold. The pool open and close checklist tool covers both sides.
Decision tree: what kind of close do you need?
Five branches change which steps apply and which products you’ll buy. Check all five before you start.
Freeze climate or warm climate?
- Freeze climate (ground freezes, daytime highs below 32°F for stretches): full close required — drain equipment, blow out every line, add antifreeze, install a solid cover.
- Warm climate (USDA zones 8-9, deep South): reduced-season mode — keep the pump running on a timer, lower chlorine demand, skip the cover. The rising query “winterize pool in texas” reflects readers in borderline zones who may only need a partial close.
Inground or above-ground?
- Inground: lower water 4-6 inches below the skimmer, blow out all plumbing lines, add antifreeze, plug returns. Plan 3-4 hours.
- Above-ground: disconnect and drain the pump and filter, remove the ladder, install a winter cover with cable and winch. No line blowout needed for most setups. Plan 1-2 hours.
Chlorine or saltwater?
- Chlorine: standard closing kit (shock + winter algaecide + stain treatment).
- Saltwater: same chemistry close plus one extra step — remove the chlorine generator cell, acid-wash if scaled, and store indoors so it doesn’t freeze-crack. See saltwater pool basics for cell care.
Mesh cover or solid cover?
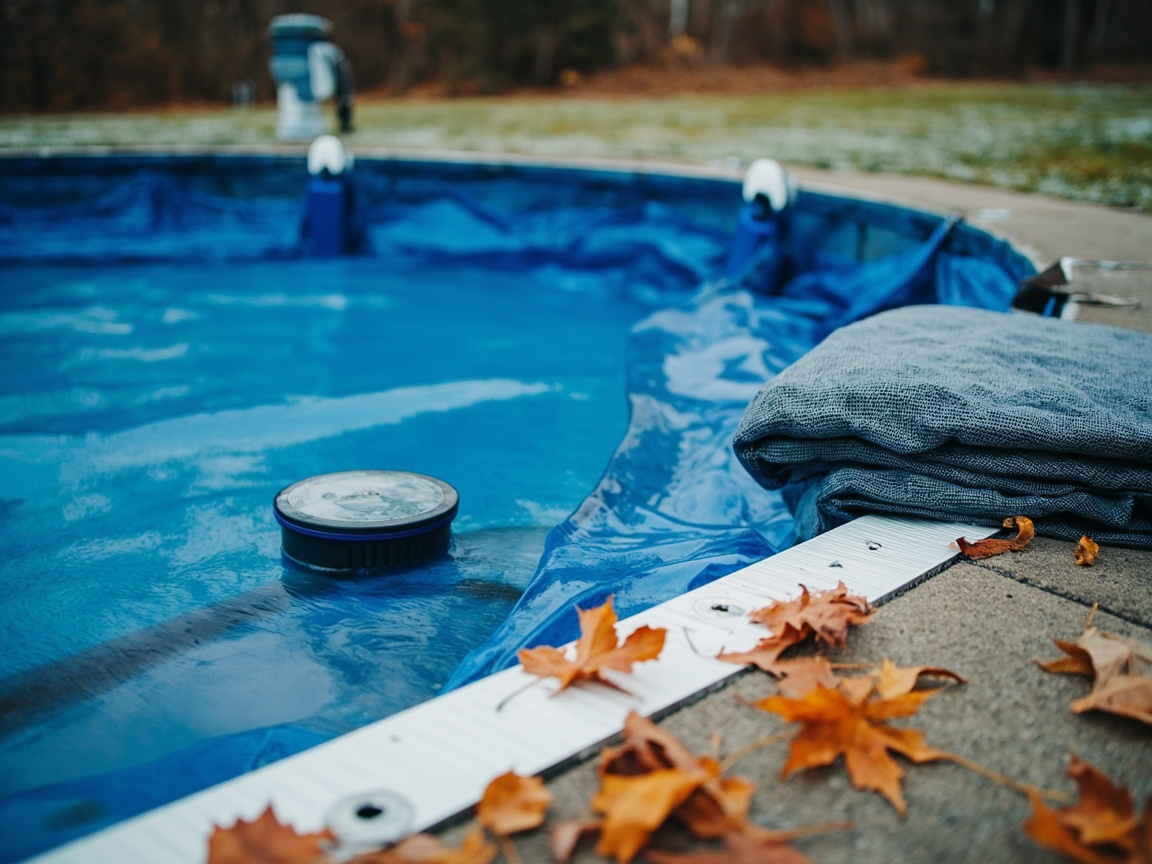
- Solid cover: blocks light and debris; rain and snowmelt pool on top, so you need a cover pump or you’ll risk a sag that cracks the cover or pulls anchors. Best for freeze climates and dirty yards.
- Mesh cover: lets water through so you skip the cover pump, but sunlight still hits the water and algae can grow under it. Fine for milder winters or pools you check monthly; not a full light block.
DIY full close or hire the blowout?
- DIY full close: chemistry, lower water, drain equipment, cover — doable with a shop vac or air compressor if you know every return and skimmer line. Skip this path if you’ve never blown lines before.
- Hire the blowout only: many owners handle chemistry and the cover themselves, then pay a tech just for the compressor blowout and plugs. That’s the smart middle path when buried plumbing is unmarked or you’re on a tight freeze deadline.
When to winterize your pool
Timing matters more than owners expect. Close too early and warm water trapped under the cover breeds algae; close too late and the first hard freeze can crack pipes and the pump housing.
The rule of thumb: wait until daytime water temperatures consistently stay below 65°F (18°C) — not air temperature. Usually that’s mid-October in the Midwest and Northeast, late November in the South, and never in frost-free zones. Keep up your weekly pool care schedule right up until closing day so the water you’re locking in is already balanced.
First-time owner? Skim the first-year pool owner guide for the seasonal roadmap so closing day doesn’t catch you off guard.
Balance the water before you close
This is the step most owners rush — and it’s the one that decides whether you reopen to clear water or a green swamp. Whatever chemistry you lock in under the cover is what sits there for 5-6 months.
Follow the standard adjustment order: total alkalinity first, then pH, then chlorine shock, then winter algaecide. Out of order and you’ll chase the numbers all afternoon.
Test the water first
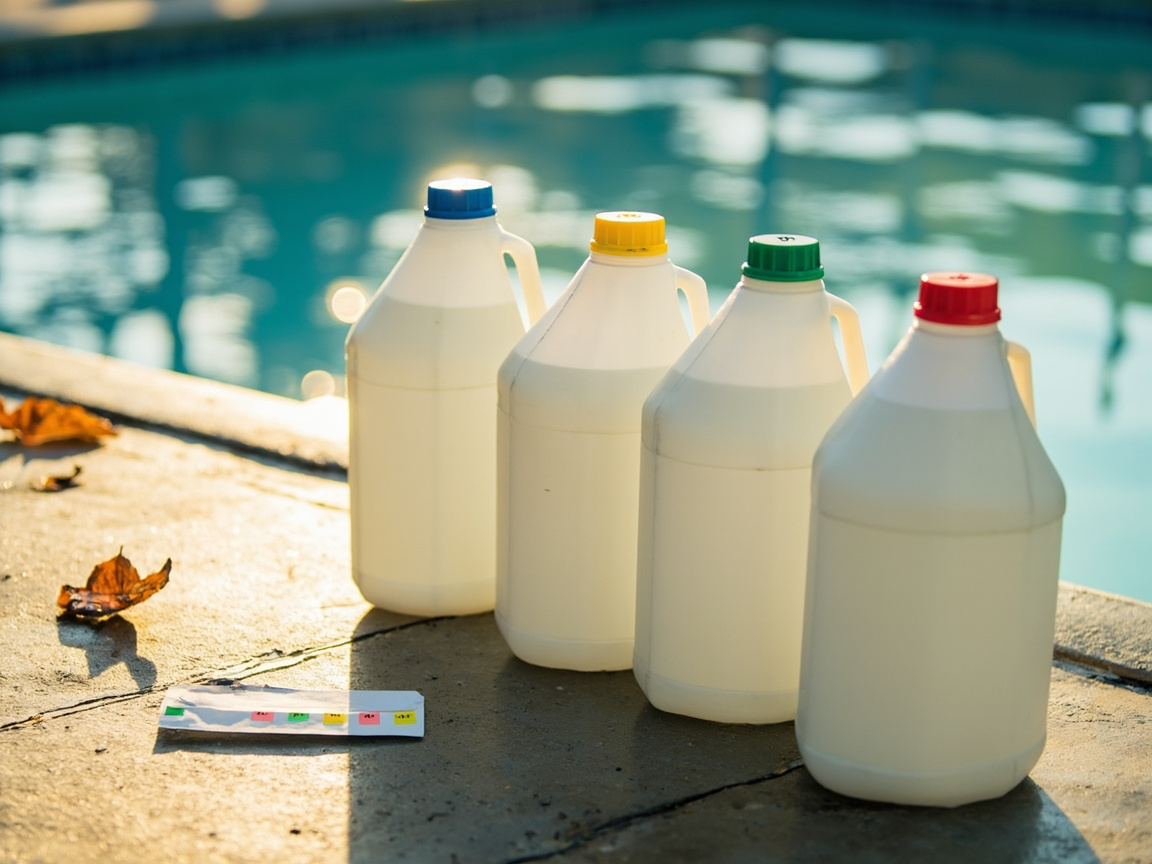
Use test strips or a liquid kit to get current readings. If anything is far off, fix it a few days before closing so the chemicals have time to circulate — adding shock at 4 PM and closing at 5 PM doesn’t count. See our pool water testing guide and pool test strips for the right tool.
Adjust total alkalinity to 80-120 ppm
TA is the buffer that keeps pH stable over winter. If it’s low, add TA increaser (sodium bicarbonate) with the pump running. Wait an hour, retest.
Set pH to 7.4-7.6
Once TA settles, adjust pH. Low pH over winter etches plaster and corrodes metal fittings; high pH causes scaling and staining.
Shock to 3-5 ppm free chlorine
Add a closing dose of chlorine or chlorine-free shock to oxidize organic contaminants before they sit under the cover for months. See pool shock chemistry for dosing by shock type. Run the pump for at least 1 hour after shocking so it mixes.
Add winter algaecide and stain treatment
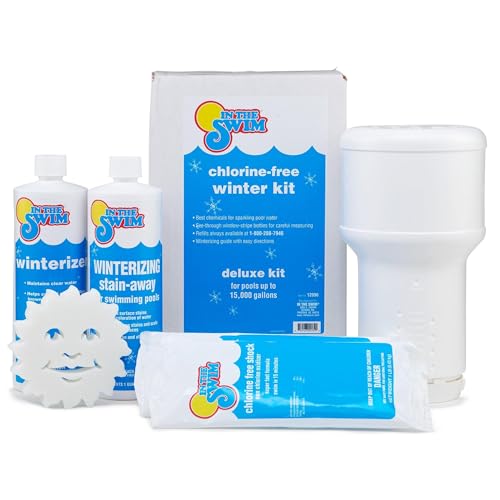
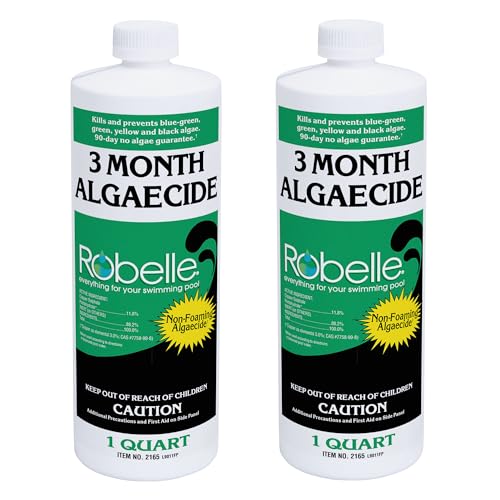
Pour Robelle 3-Month Algaecide around the perimeter — 16 ounces per 10,000 gallons (one quart treats 20,000 gallons). The 2-pack covers a 90-day window. If your fill water is high in iron or copper, add a metal sequestrant to prevent staining. A pre-assembled closing kit bundles the chemistry for convenience — In The Swim Pool Closing Kit covers pools up to 15K gallons.
Skip the kit if your pool is over 15K gallons — buy each chemical at the right dose instead. Don’t rely on it alone if CYA is already high; you may still need chlorine-free shock.
What you’ll need
Gather everything before you start so you’re not running to the store mid-close.
- In The Swim Pool Closing Kit — shock, winterizer, stain-away, and floater matched to pool size. Skip this if your pool is over 15K gallons; buy components separately at the correct dose.
- Robelle 3-Month Algaecide — 16 ounces per 10,000 gallons; 2-pack of 1-quart bottles. Don’t substitute summer algaecide — it breaks down in weeks, not months.
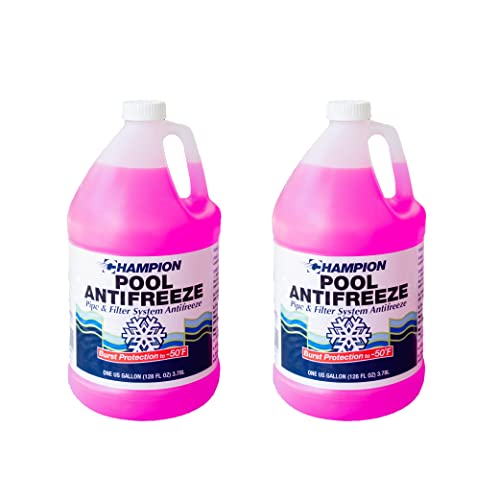
- CPDI Champion Pool Antifreeze — 4 gallons of propylene glycol for inground plumbing lines. Skip this if you’re in a no-freeze climate.
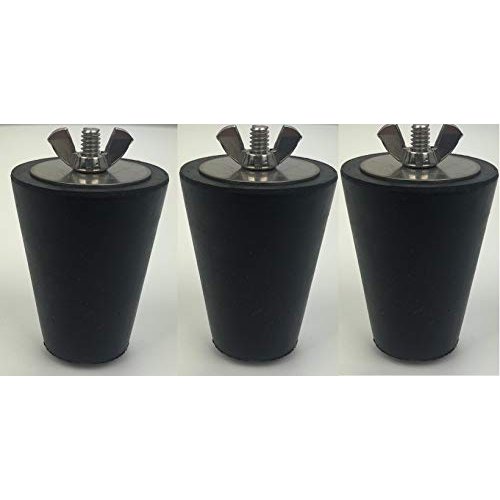
- JimysCo Winter Plug 3-pack — tapered rubber plugs sized #7-11 for sealing return jets after blowout. Don’t use old plugs with cracked rubber — they won’t hold an airtight seal.
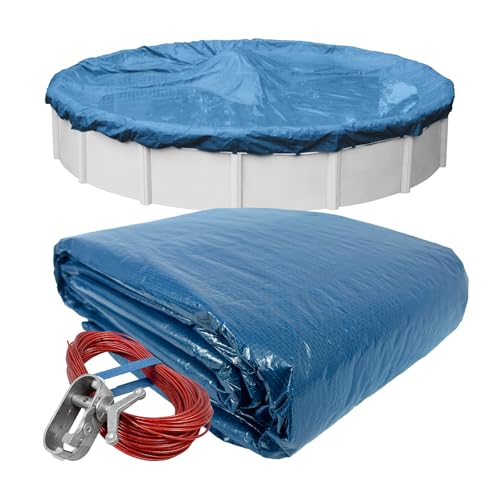
- Robelle 24-ft AG Winter Cover — solid cover with 4-ft overlap for 24-ft round above-ground pools. Skip if you already have a cover in good shape from last season.
- Air compressor or shop vac — for blowing out plumbing lines (inground only).
- Submersible pump or hose — for lowering the water level.
How to winterize your pool (step-by-step)
The inground and above-ground paths share the first steps and diverge on plumbing. Follow the matching branch.
Step 1: Clean the pool
Brush walls and floor, vacuum debris, and skim the surface. Anything left in the pool decomposes over winter and feeds algae. Clean the skimmer and pump baskets.
Step 2: Balance the chemistry
Follow the order above (TA → pH → chlorine → algaecide). Run the pump for at least 1 hour after adding chemicals so they circulate.
Step 3: Lower the water level
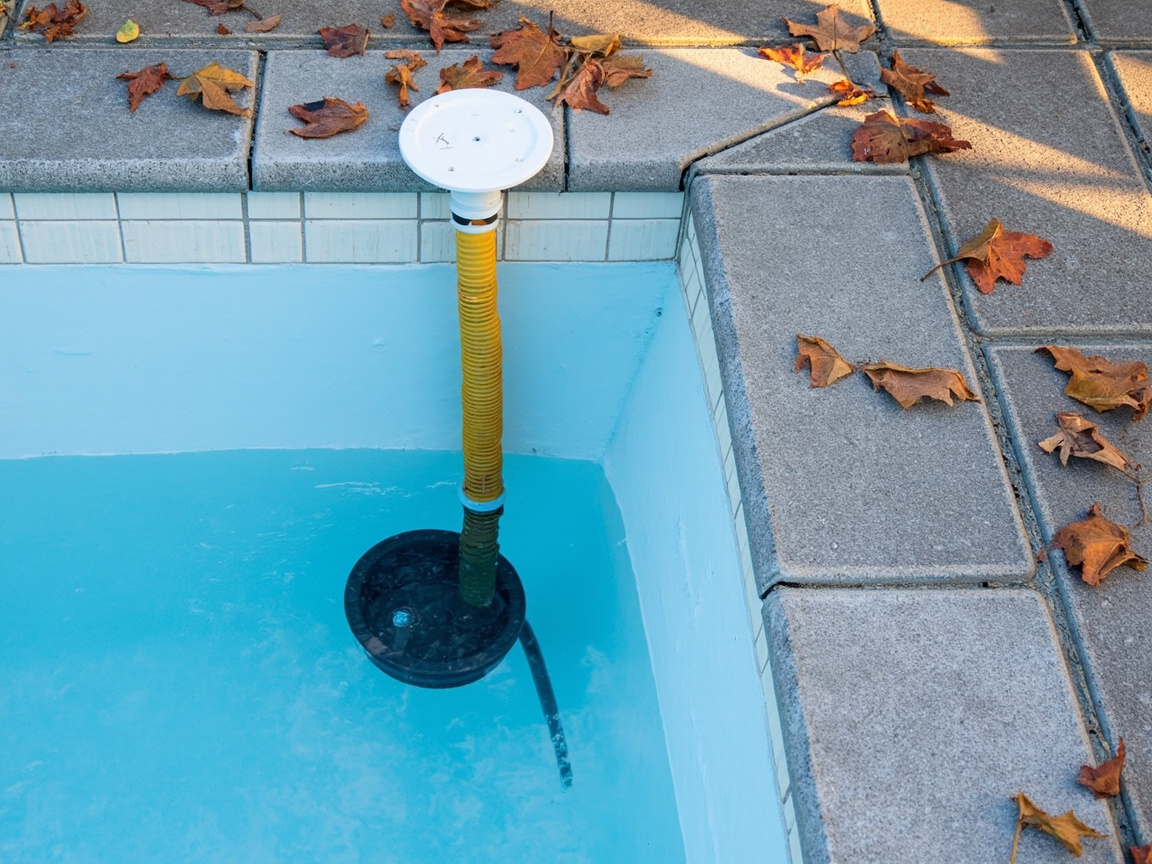
Inground: drop the water 4-6 inches below the bottom of the skimmer opening using a submersible pump or by backwashing. This creates an air gap so water can’t freeze inside the skimmer.
Above-ground: drop the water 3-4 inches below the return jet. You don’t need to go below a skimmer because most AG pools use a through-wall skimmer that gets disconnected.
Step 4: Drain and protect the equipment
Turn off the breaker to the pump. Remove drain plugs from the pump, filter, and heater — store the plugs in the pump basket so you can find them in spring. Set a sand or DE filter multiport valve to “winterize” or between settings. For a cartridge filter, remove and hose off the cartridge. Drain all water from the pump housing and heater.
Step 5: Blow out and plug the plumbing lines (inground and freeze climates)
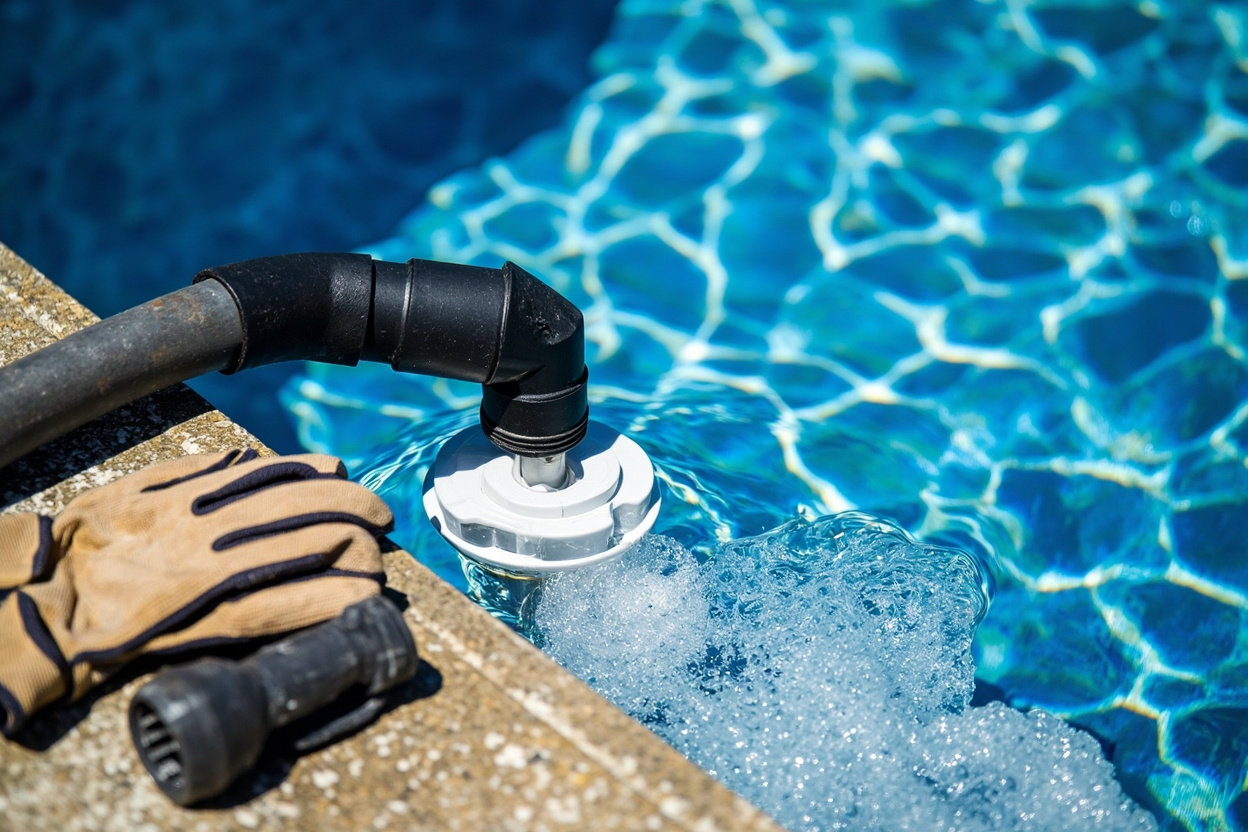
Use an air compressor or blower to push all water out of the skimmer, return, and main drain lines. Working from the pump toward the pool, open one return at a time until only air comes out, then immediately insert a JimysCo rubber winterizing plug. Pour CPDI Champion Pool Antifreeze into each line — about 1 cup per 10 feet of pipe — before the final plug. This is the step that prevents the most expensive winter damage.
Skip this entire step if you’re in a no-freeze climate with no risk of water freezing in the lines.
Step 6: Remove the saltwater cell
If you have a saltwater chlorine generator, unscrew the cell from the plumbing, acid-wash it if it’s scaled, and store it indoors. Leave the generator in standby or off mode. A cell that freezes with water inside will crack, and replacements run $400-800.
Step 7: Install the winter cover
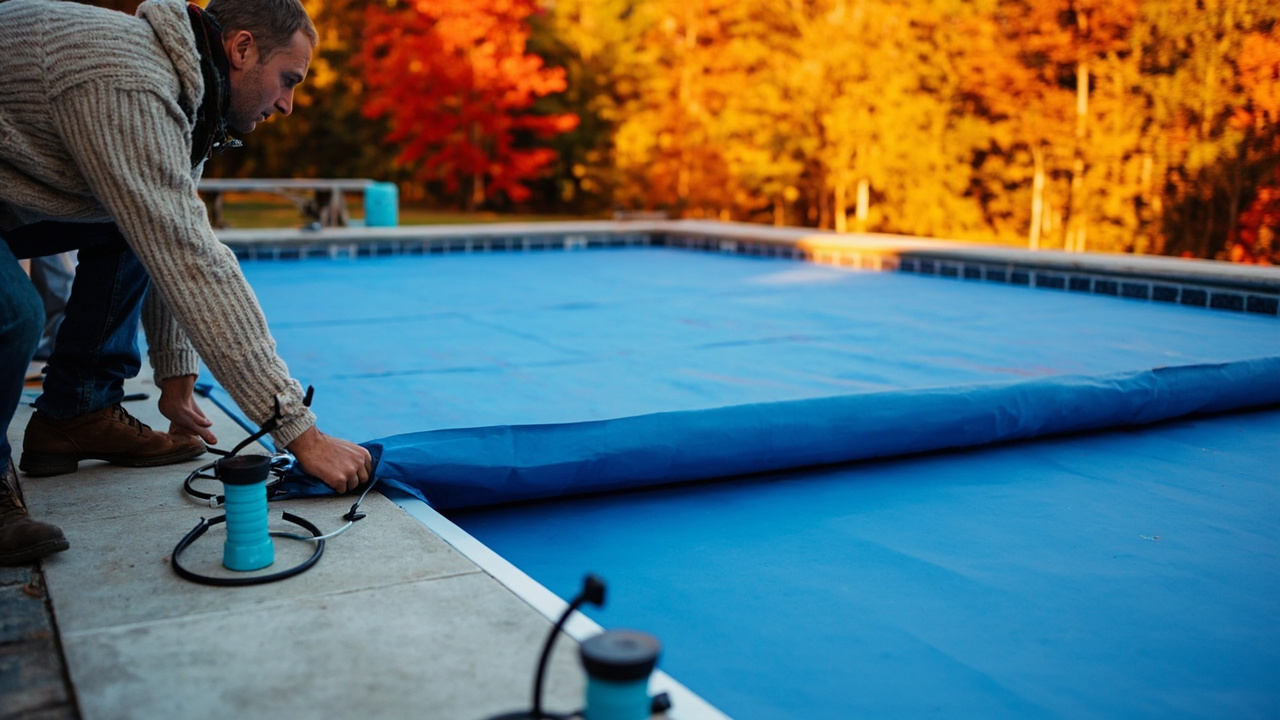
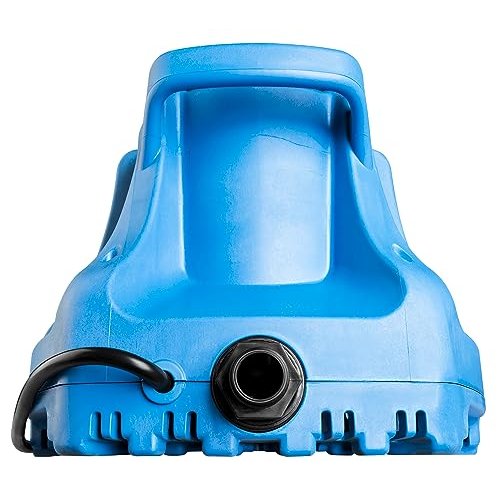
Inground: lay the solid cover over the pool with the overlap hanging evenly. Secure with water bags along the edges. Ensure no sagging areas where water and debris will pool. On a solid cover, set a Little Giant APCP-1700 Cover Pump in the low spot so rain doesn’t sit.
Above-ground: place the Robelle winter cover over the pool, thread the cable through the grommets, and tighten with the winch until snug. Add an air pillow in the center to relieve ice expansion pressure.
Step 8: Disconnect above-ground equipment (AG only)
Unscrew the pump and filter from the pool. Drain all water from the pump housing, filter tank, and hoses. Store the pump indoors if possible. Remove the return fitting and install a JimysCo rubber winterizing plug. Remove the ladder, handrail, and skimmer basket, and store metal parts dry to prevent rust.
Closing-day checklist: chemistry, freeze protection, and cover hold
You’ve already run the eight steps. Walk around once before you leave. Tick what’s done. Don’t redo the clean, the drop, or the blowout.
Chemistry hold ticks
Don’t cover until these still hold:
- TA still 80-120 ppm
- pH still 7.4-7.6
- Free chlorine hit 3-5 ppm and the pump already ran an hour. Don’t dump shock at 4 PM and cover at 4:15
- Winter algaecide is in the water
- Don’t leave a slow-dissolve chlorine tablet in the skimmer. It sits in one spot all winter and can bleach or stain the wall under it
- Metal sequestrant: tick only if a test showed high iron or copper. You can’t tick it if you never tested
Miss a tick? Go back to Balance the water. Don’t remix the dose table here.
Freeze and equipment ticks
This is the expensive list. A missed plug isn’t “brush the walls again.” It’s a cracked housing in March.
- Pump breaker is off
- Drain plugs out of the pump, filter, and heater — sitting in the pump basket
- Freeze climate: lines blown dry, pool-grade antifreeze in, rubber plugs in the returns
- Don’t blow out lines if you’re in a no-freeze zone — skip that whole group. The decision tree already split you
- Saltwater: cell is off the plumbing, rinsed, and stored indoors
- Above-ground: pump and filter drained and inside. Tick this if you already did Step 8
If a freeze tick is still open, stop. That’s next year’s four-figure repair, not a cover wrinkle.
Cover + closed-season weekly hold
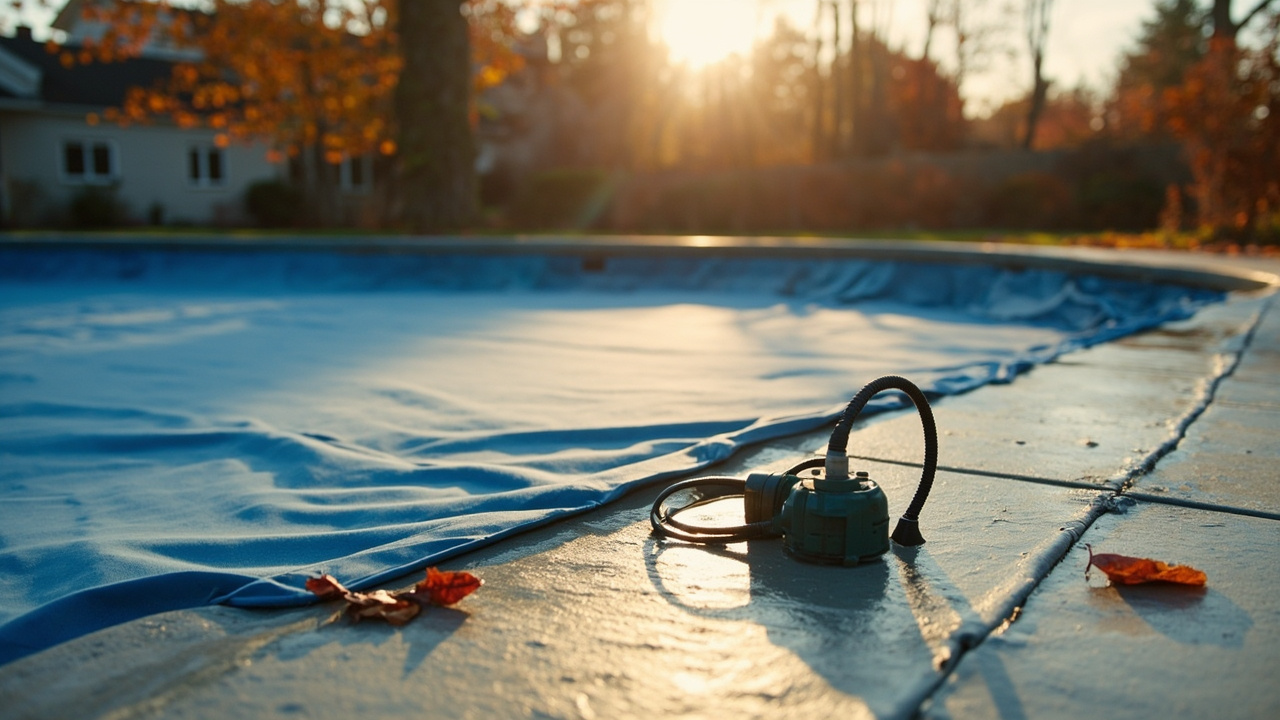
- Cover is on and the edges are weighted or winched tight. Solid vs mesh was already picked in the decision tree
- Solid cover: the cover pump sits in the low spot where rain collects. Don’t buy a new one here — just confirm it’s in place
- Mesh: don’t put a cover pump on it. Water’s supposed to go through. Skip the pump
- After close, until you open next spring, weekly work is cover water, leaves, and junk — not the open-season chlorine rhythm. That’s the closed-season weekly hold
Safety notes (read this)
- Never mix chlorine shock and algaecide directly — add them at least 30 minutes apart with the pump running. Concentrated shock plus algaecide can neutralize both or release hazardous gas.
- Never use automotive antifreeze in pool plumbing. It contains ethylene glycol — toxic to pets and wildlife, and illegal to discharge into storm drains at spring opening. Use only pool-grade propylene glycol.
- Never pour shock through a skimmer that feeds an automatic chlorinator. The concentrated product can trigger a dangerous reaction in the chlorinator chamber.
- Add chemical to water, not water to chemical, when pre-dissolving. Gloves and eye protection; don’t breathe dust from shock containers.
- Turn off the breaker before draining the pump. Water and electricity don’t mix.
- Store all chemicals locked away from kids and pets.
What to buy only if needed
Not every pool needs every product. Buy conditionally:
- CPDI Champion Pool Antifreeze (4 gallons, ~$37) — only if you’re in a freeze climate with underground returns. Skip entirely in no-freeze zones.
- JimysCo Winter Plug 3-pack (~$22) — only if you have underground returns to seal after blowout. Size #7-11 fits most standard fittings.
- Little Giant APCP-1700 Cover Pump (~$148) — only if you use a solid cover. A mesh cover lets water through, so a pump is wasted money.
- Metal sequestrant — only if a water test shows high iron or copper. Not every pool needs it; test before you buy.
Common mistakes
- Closing too early. Locking in 75°F water under a cover is a green-pool guarantee — algae stay active above 50°F. Wait for water below 65°F.
- Skipping the line blowout. Water left in underground PVC freezes, expands, and cracks the pipe or fittings. This is the single most expensive winter mistake — often $1,000+ in excavation and repair.
- Draining the pool too far. Lowering below the skimmer is correct; emptying the pool risks hydrostatic pressure cracking or popping the shell.
- Using automotive antifreeze. Toxic, illegal to discharge, and it doesn’t belong in pool plumbing. Pool-grade propylene glycol only.
- Forgetting to remove drain plugs. Water trapped in the pump housing or filter tank freezes and cracks the housing. Pull every plug and store them in the pump basket.
When to call a pro
Most owners can close a standard pool themselves. Call a pool service professional if:
- You have complex plumbing — multiple returns, water features, a spa spillover, or a floor cleaning system that makes line blowout difficult.
- It’s your first time closing this pool and you don’t know where the drain plugs or valves are. A one-time pro close ($150-300) can walk you through the process so you can DIY next year.
- You have a heater. Improper draining can crack the heat exchanger — a $500+ replacement. If you’re unsure how to drain it, hire out just that step.
- You find a leak or cracked fitting during close-down. Don’t seal plumbing over winter with an active leak.
Related
- How to open a pool for spring — the reverse process: your spring reopening checklist
- Pool open and close checklist tool — interactive companion that walks through every step on both sides
- Weekly pool care schedule — keep up weekly care right until closing day
Key takeaways
- Wait for water below 65°F before closing — too early breeds algae, too late risks freeze damage.
- Balance chemistry in order: TA first, then pH, then chlorine shock, then winter algaecide.
- Never drain the pool fully — lower 4-6 inches below the skimmer (inground) or 3-4 inches below the return (above-ground).
- Blow out and antifreeze every plumbing line in freeze climates — this is the number-one protection against cracked pipes.
- Saltwater pools add one step: remove, clean, and store the chlorine generator cell indoors.
- Use pool-grade propylene glycol antifreeze, never automotive ethylene glycol.
- Use the pool open and close checklist tool to track every step so you don’t miss one.