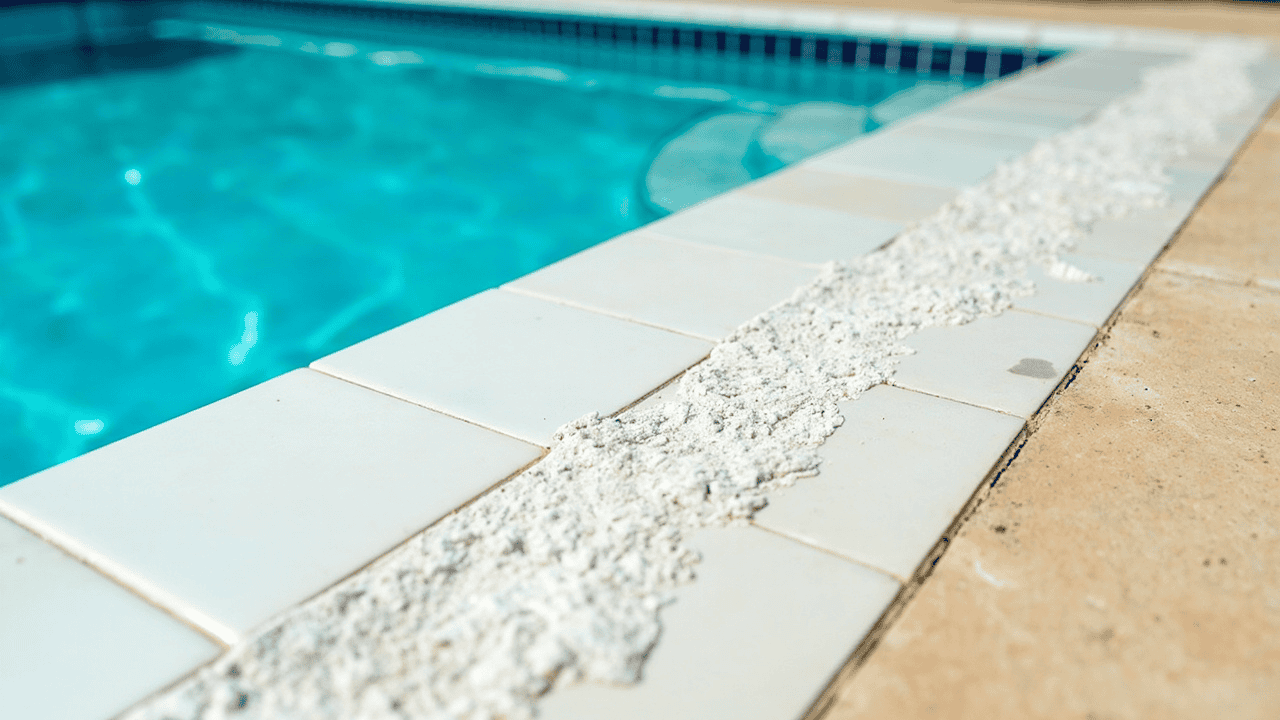
If your heater is losing efficiency or you see a white crust creeping up the waterline, calcium hardness may be the number behind it. Guessing wastes chemical, time, and possibly a heat exchanger. Once you separate CH from pH and TA, the work is simple: test, read the surface-specific range, then raise, leave alone, or drain and refill.
Quick answer
Calcium hardness (CH) is dissolved calcium in pool water, not pH or alkalinity. Most plaster pools target 200–400 ppm; vinyl and fiberglass often use 150–250 ppm. Test with a drop kit before dosing. Raise a confirmed low reading with calcium chloride. For high CH, partial drain/refill or a label-approved sequestrant—not a magic reducer—is the real answer.
What calcium hardness actually does in your pool
Calcium hardness is the calcium dissolved in the water, measured in parts per million as calcium carbonate (CaCO₃). The reading tells you whether water leans “aggressive” (wants to dissolve calcium from surfaces) or “scale-forming” (wants to drop calcium out). Low CH can pull calcium from plaster or grout; high CH lets scale settle on tile, heaters, or salt-cell plates.
What this is not: CH is its own number
This is where most confusion starts.
- CH isn’t pH. A perfect CH reading won’t fix a pH problem; see what high pH changes in pool water.
- CH isn’t total alkalinity. TA is a buffer; CH is dissolved calcium. The TA guide explains why they interact but aren’t the same.
- CH isn’t cyanuric acid. CYA protects chlorine from sunlight and has nothing to do with calcium levels.
- CH isn’t free chlorine. Start with free chlorine in the working range and the green-pool recovery steps before chasing CH.
- Baking soda doesn’t raise CH. It’s sodium bicarbonate—a TA increaser, not calcium chloride. Skip it for CH corrections.
Ideal calcium hardness range by surface
A reasonable starting target is 200–400 ppm. Plaster, concrete, and pebble pools usually sit in the upper half because the surface itself contains calcium; vinyl liner and fiberglass pools often run cooler in the 150–250 ppm range.
| Pool/surface situation | Starting CH band | If outside |
|---|---|---|
| Plaster, concrete, or pebble | 200–400 ppm; 250–350 ppm is a useful middle | Below 200 is aggressive, above 400 is scale risk |
| Vinyl liner | 150–250 ppm | Confirm before adding; avoid treating a strip color as a dose |
| Fiberglass | 150–250 ppm, unless the maker says otherwise | Use the manufacturer’s range; check saturation conditions |
| Saltwater chlorine generator | Follow the cell/pool maker’s range; keep pH and saturation under control | High CH plus high pH plates scale on the cell; inspect rather than adding acid |
A plaster pool below about 200 ppm deserves faster attention because the surface itself can become the calcium source. For how CH fits next to pH, TA, and CYA, the weekly pool-care schedule lays out the rhythm that keeps all five in their lanes.
How to test calcium hardness accurately
Testing CH isn’t complicated, but a sloppy sample or an old reagent can give you a number that drives the wrong correction.
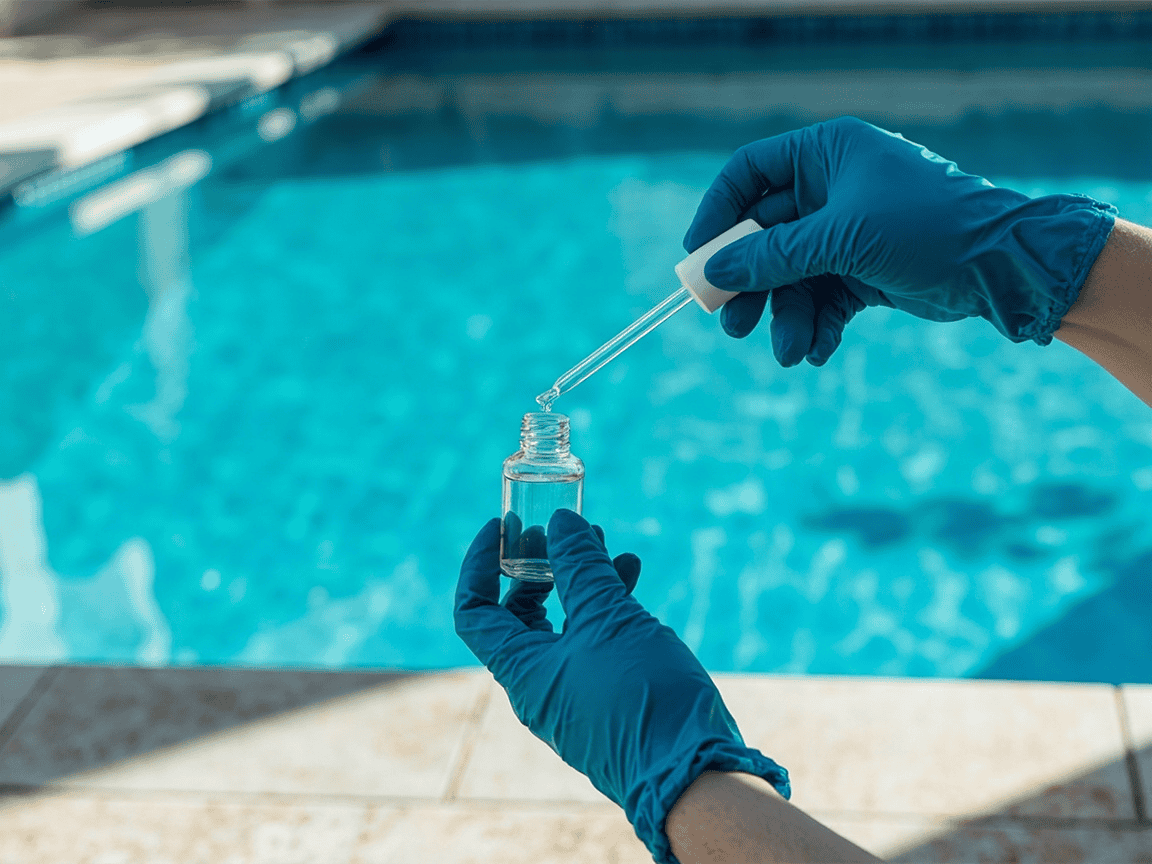
Run the pump so the water is circulating. Pull a sample from elbow depth, away from returns, skimmers, and in-floor cleaner heads. Rinse the vial with pool water before filling. Use a drop or titration kit for the confirmation; strips are useful for a trend but shouldn’t drive a large correction.
Drop-test kit in use
A CH reading alone doesn’t tell the full story. Record ppm, pool volume, surface type, pH, TA, water temperature, TDS (or salt for an SWG), fill-water CH, and any visible scale or etching. If two readings conflict by more than 50 ppm, repeat with a fresh sample and check reagent dates.
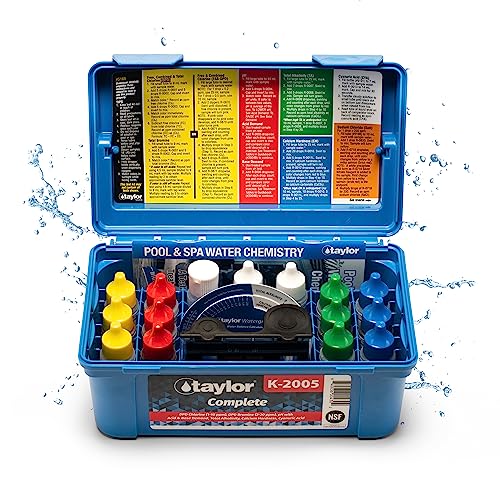
A drop-test kit like the Taylor K2005 covers CH plus the other core parameters. For strips vs liquid, see the test kit comparison. If two methods disagree, start with the full pool-water testing routine before adding chemical.
Calcium-hardness decision tree
Work through the branches in order. A drop-test kit like the Taylor K2005 is the starting point.
Test CH with a drop kit → Is the result plausible and repeatable?
  ├─ No → retest with fresh sample and reagents, or a shop check; do not dose yet.
  ├─ Yes, below the surface band → check pH/TA and surface → raise in split calcium-chloride doses.
  ├─ Yes, inside the surface band → leave CH alone; manage pH/TA and retest on the normal schedule.
  ├─ Yes, above the band but no visible scale → check fill water and saturation → partial drain/refill if needed.
  ├─ Yes, above the band with scale or cell deposits → lower saturation drivers, brush/filter, and consider a label-approved scale-control product.
  └─ Salt cell or heater is heavily scaled → stop guessing; inspect/clean per equipment manual or call a pro.
Decision tree at a glance
Plaster low CH is a long-term etching risk that deserves faster attention than vinyl low CH; high CH plus high pH plates scale on salt-cell plates. A “high” reading that conflicts with recent water replacement is a measurement problem—repeat with a fresh sample and check reagent dates. For spa vs pool product differences, choose the right chlorine type is the matching piece.
If calcium hardness is low: raise it without overshooting
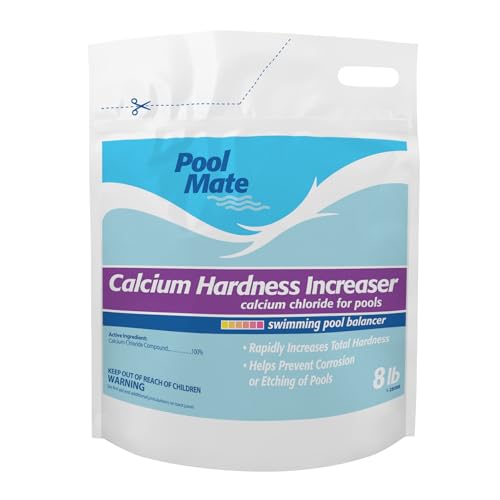
A confirmed low CH reading isn’t an emergency—it’s a measured correction. Confirm with a drop kit, identify the surface-specific target, calculate the volume dose, then split a large correction into smaller passes. A pool-labeled calcium chloride like the Pool Mate 8-lb increaser is a typical backyard match.
Step 1: Confirm the reading. A drop-test kit like the Taylor K2005 gives you CH plus the cross-check on the same sample.
Step 2: Calculate the volume dose via the chemical dose tool. Round down.
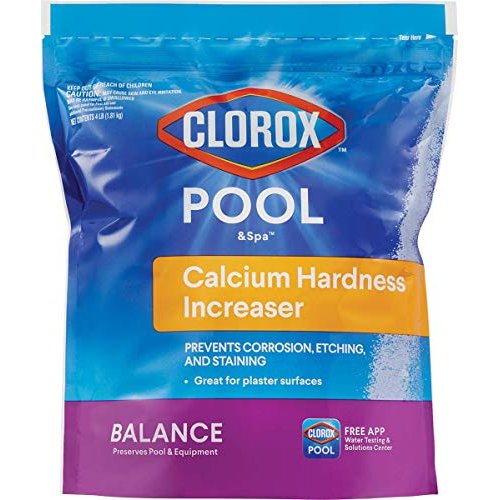
Step 3: Add calcium chloride slowly with the pump running. Pre-dissolve only when the label allows. Don’t pour through a skimmer feeding a chlorinator or salt cell. Brush settled granules toward the deep end. The Clorox 4-lb calcium hardness increaser is the right call when the calculated swing is small.
Step 4: Circulate, then retest. Wait the product’s stated interval—usually a few hours—then retest CH and log the result.
A modest correction lands in the 150–300 ppm swing for a backyard pool. Skip the second dose if the reading is already in band or fill water runs high in CH.
Low-CH constraints and skip rules
Skip a calcium chloride dose if the CH result is unconfirmed, fill water already runs high in CH, or the surface/equipment guidance sets another target. Don’t use baking soda, table salt, or cal-hypo as a “CH correction.” Keep swimmers out during the addition and until the label’s wait period is up; fix CH last when pH or TA is also out of range.
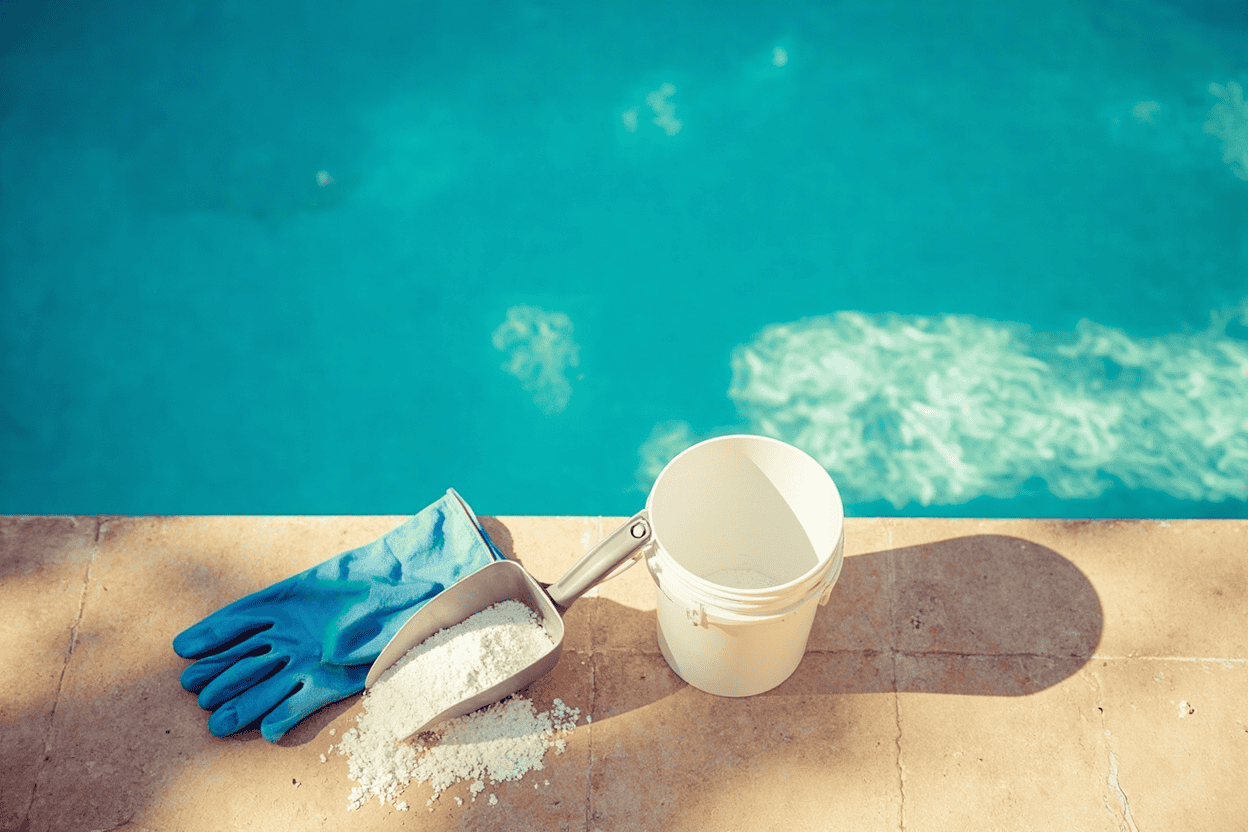
If calcium hardness is high: lower the risk, not just the number
Ordinary pool chemistry doesn’t remove dissolved calcium on demand. A “calcium reducer” in a jug won’t pull Ca²⁺ out; it can only manage scale deposits or metal availability. The actual removal routes are partial drain/refill or professional reverse osmosis. Test fill-water CH first—if it’s already at 300 ppm, a refill won’t help.
Step 1: Correct pH and TA first. High CH plus high pH/TA is a faster path to scale than high CH alone.
Step 2: Check the heater and salt cell. A heat exchanger with a calcium crust or a cell plate with white deposits needs cleaning per the manual, not a jug of “reducer.”
Step 3: Plan a partial drain and refill when fill-water CH is lower than pool CH. Many municipal supplies sit between 50 and 150 ppm; replacing 25–50% of the volume is the real reduction.
Step 4: Retest after refill. Let the new water circulate at least a day.
Don’t drain a vinyl liner or high-water-table pool without professional guidance.
Partial drain and refill setup
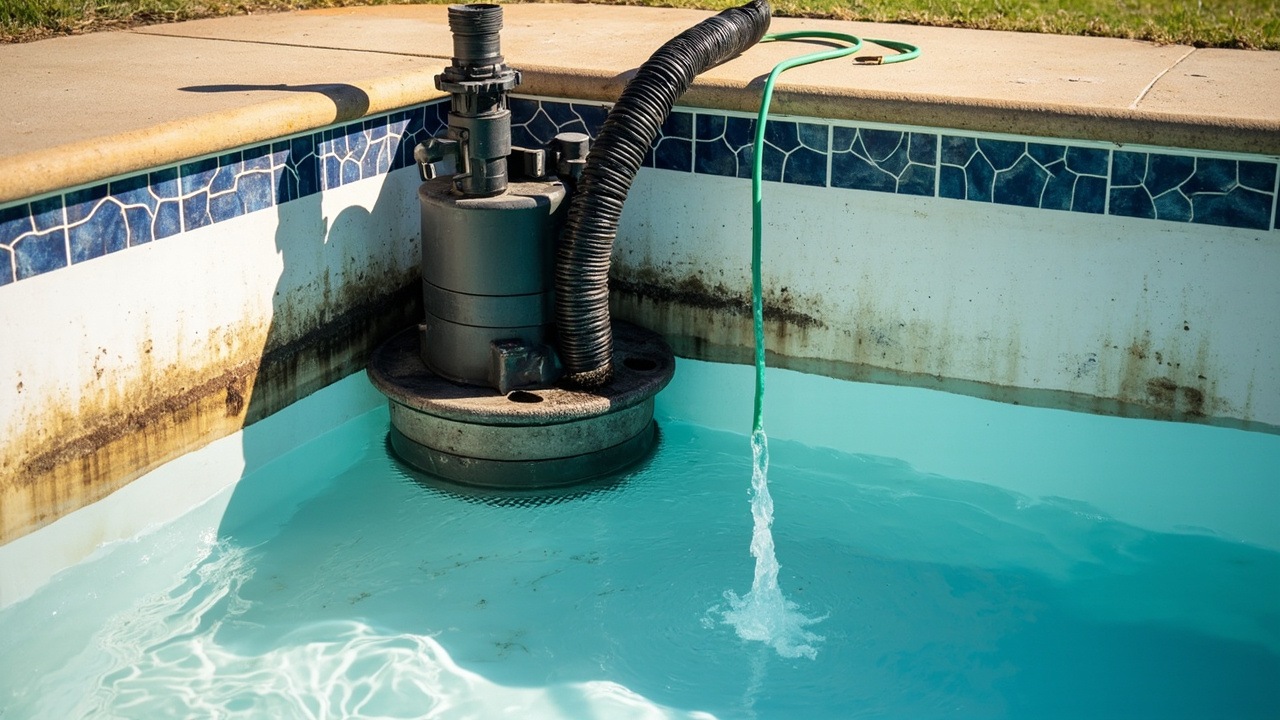
Verify groundwater and surface constraints before any controlled drain and refill.
When a scale-control or sequestrant product is appropriate
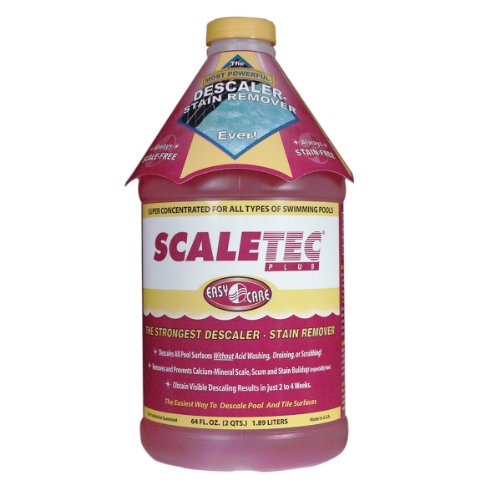
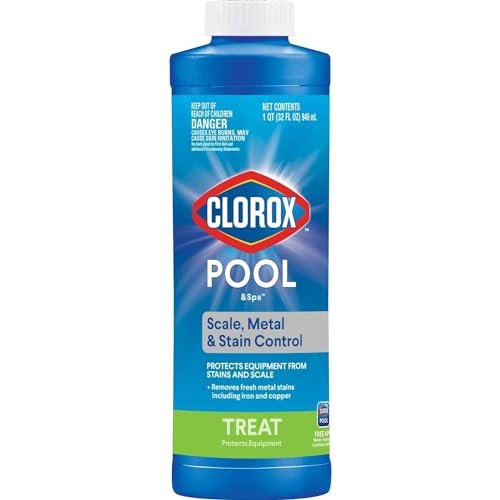
A scale-control product or sequestrant helps when the test, symptoms, and label all line up—deposits on tile, heaters, or cells, or known metal contamination. It does not replace drain/refill for a high measured CH number: the EasyCare Scaletec Plus descaler works on deposits, not on dissolved calcium; the Clorox Scale, Metal & Stain Control covers metals and stains.
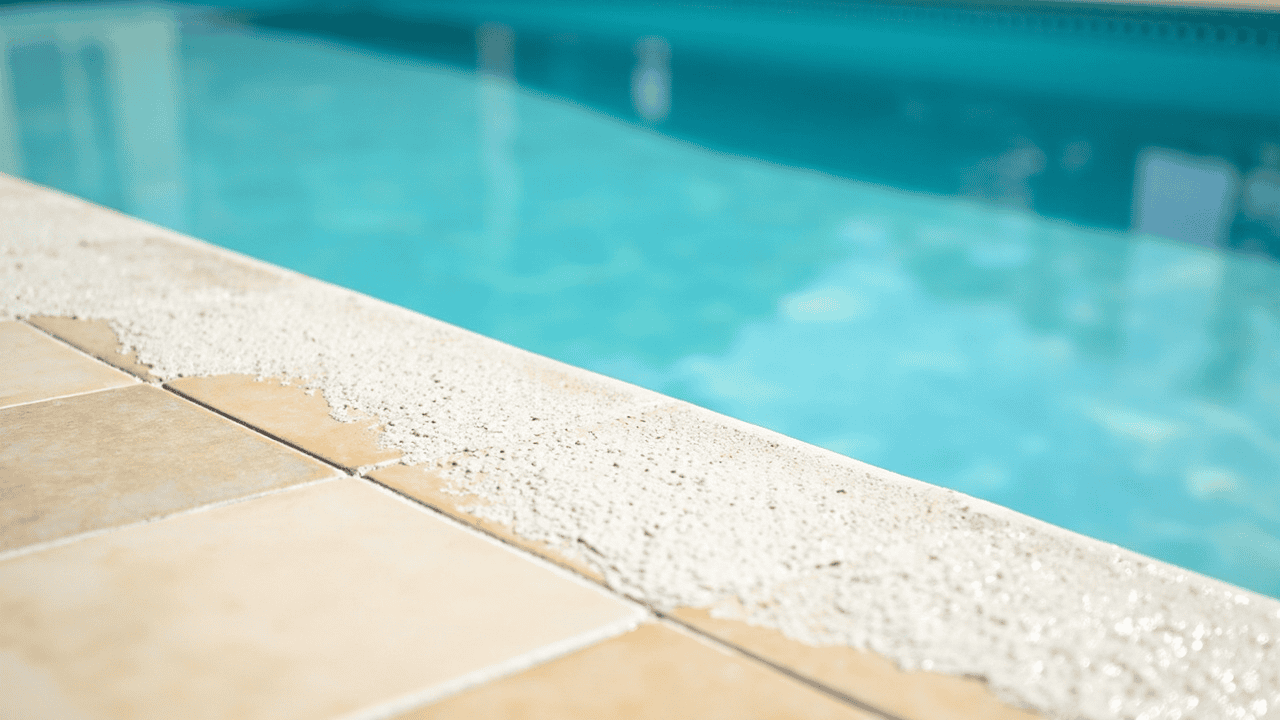
How CH interacts with pH, TA, temperature, and salt cells
CH doesn’t live alone. The Langelier Saturation Index (LSI) combines CH, pH, TA, temperature, and TDS into a single “aggressive to scale-forming” tendency. A useful LSI band is roughly −0.30 to +0.30; below it, water is aggressive; above, calcium drops.
A salt chlorine generator adds a wrinkle: the cell runs hot with high pH at the plates. High CH plus that cell environment can plate calcium within a single bad afternoon. If your SWG shows a “check cell” warning, inspect CH plus pH first. The EasyCare Scaletec Plus descaler helps with light plate deposits; heavy scale needs a manual clean or service call. The saltwater pool basics hub covers the broader SWG sequence.
Salt cell scale deposits
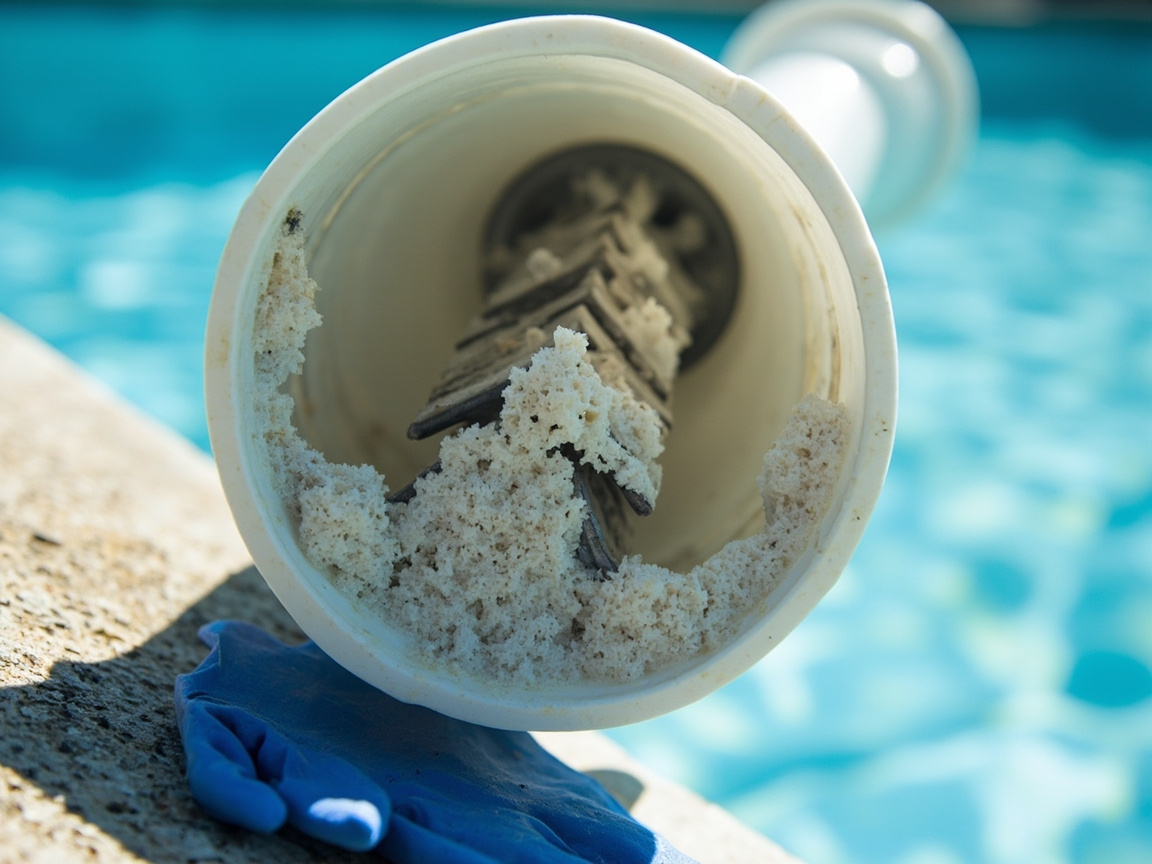
For the broader seasonal rhythm, the weekly pool-care schedule keeps the numbers in their lanes.
What you’ll need
Build the kit around the reading you actually have.
- For a trustworthy CH decision: a liquid titration kit. A drop kit like the Taylor K2005 covers CH plus the other core parameters.
- For confirmed low CH: a pool-labeled calcium chloride product. Match the pack size to the correction.
- For confirmed scale or cell deposits: a label-approved scale-control or sequestering agent only after a water test and label review.
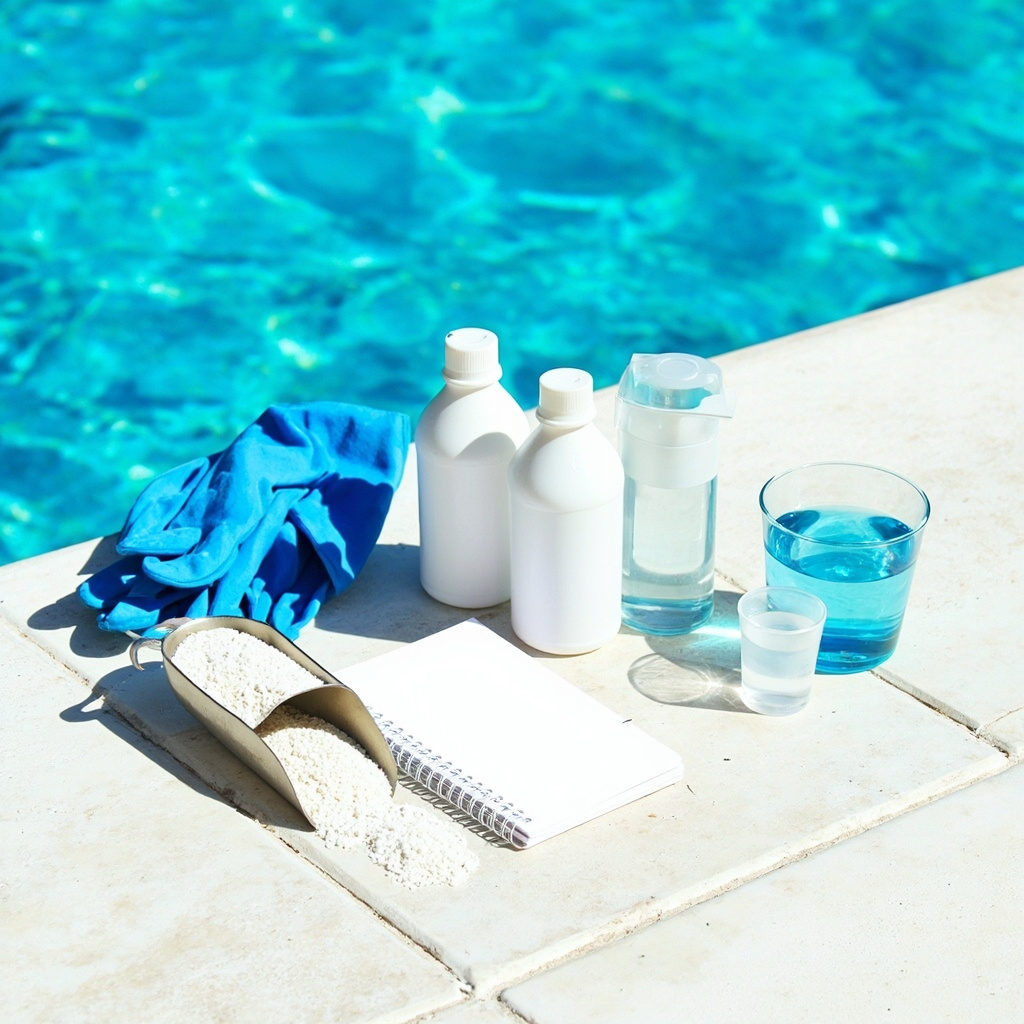
- For the work and retest: gloves, splash goggles, a clean plastic measure, the pump running, your pool’s volume, and a log of CH/pH/TA/dose/circulation time/fill-water additions.
The chemical dose tool turns a reading into a starting amount. Round down.
What to buy only if needed
Match one purchase to one confirmed branch.
Only if CH is confirmed low
Buy a pool-labeled calcium chloride product only after a drop-test confirmation. The Pool Mate 8-lb increaser handles a modest correction; the Clorox 4-lb increaser is right when the swing is small. Skip increaser for a “high” reading.
Only if the pool has scale or metal-stain risk
A label-approved scale-control or sequestering agent helps only when the test, symptoms, and label all support it. The EasyCare Scaletec Plus descaler handles deposits; the Clorox Scale, Metal & Stain Control covers metals and stains. They don’t lower the measured CH reading.
Only if a large correction is required
Don’t reach for more chemical. Test fill-water CH, check groundwater, liner, and structural constraints, and price a partial drain/refill or professional reverse osmosis before buying anything else. For other gear, see the pool essentials hub.
Common mistakes
- Adding baking soda for a confirmed low CH. Baking soda is sodium bicarbonate—a TA increaser, not calcium chloride. If CH is low and you add bicarb, TA climbs while CH stays put. Reach for the Pool Mate 8-lb increaser.
- Treating a strip color as a precise dose. A wide color block can hide a 50 or 100 ppm difference. Strips are the trend; the drop test is the dose. A drop kit like the Taylor K2005 confirms before any large chemical order.
- Calling a sequestrant a CH reducer. A scale-control product helps with deposits and metal availability, but doesn’t remove dissolved calcium. Drain/refill or professional treatment is the real fix.
- Ignoring pH/TA, temperature, and the salt cell. High CH plus high pH, high TA, and a warm cell plates scale in an afternoon; low CH plus low pH etches metal. Always look at the whole water balance together.
Safety notes (read this)
Store and handle pool chemicals safely
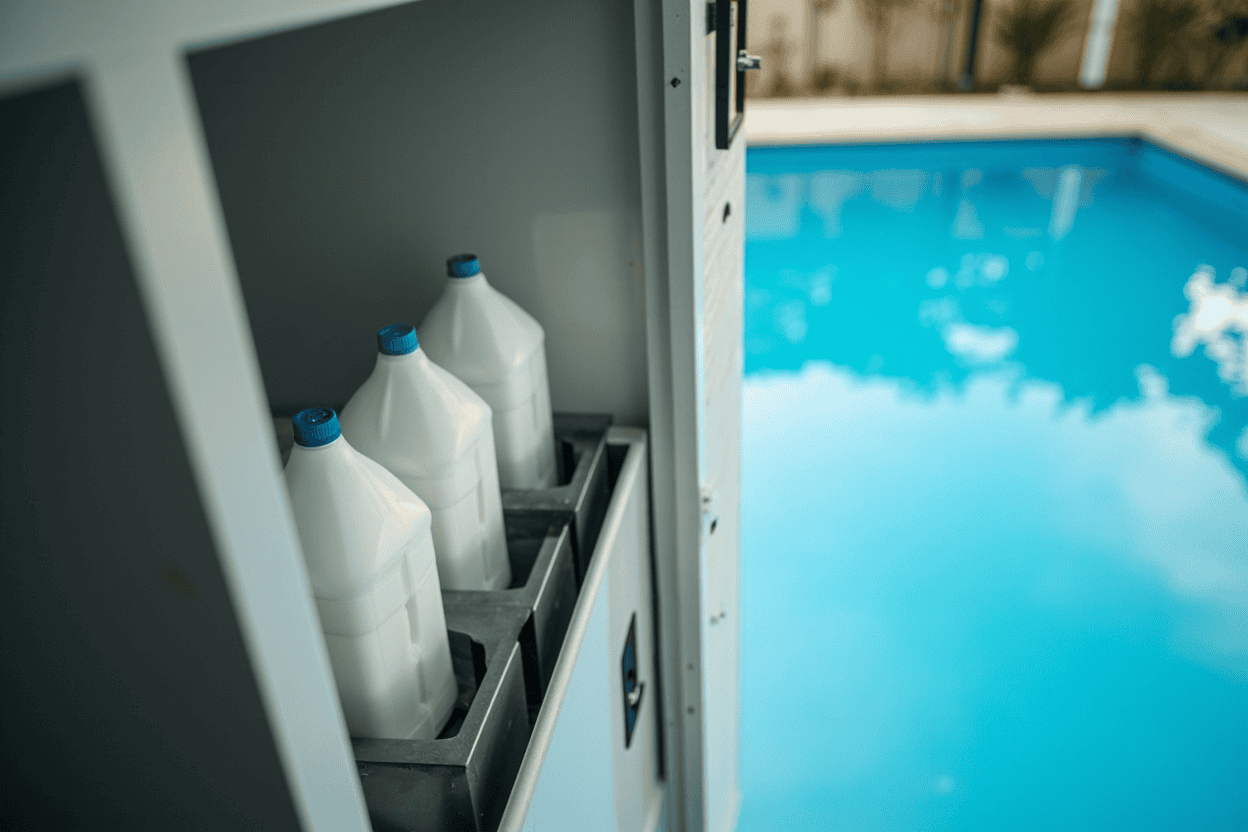
- Calcium chloride gets hot as it dissolves; add it slowly and follow the label. Don’t improvise a slurry or dump a whole bag in one spot.
- Never mix pool chemicals. Don’t add acid, scale-control, or calcium chloride through a skimmer feeding a chlorinator or salt cell.
- Don’t clean a salt cell with acid unless the manufacturer permits it. An acid bath in the wrong cell damages the plates.
- Wear splash goggles and chemical-resistant gloves; calcium chloride dust irritates skin and eyes.
- Keep products dry, locked, away from children, pets, and food.
- For a spill or splash, follow the label’s first-aid directions and contact your local poison center.
When to call a pro
DIY when the pump circulates normally and each small dose moves the numbers.
Call a pro when the heater or salt cell has visible scale that brushing won’t shift, test results keep conflicting, a large drain/refill is on the table, groundwater is high, a liner is floating, or you spot structural concerns. The EasyCare Scaletec Plus descaler helps with light deposits; heavy scale or cell cleaning is usually a service call.
Worth knowing before you retest
Evaporation leaves calcium behind, so CH drifts up over a hot summer; seasonal shifts also move the saturation index. Record fill-water CH before any drain/refill so you know whether replacement will help or hurt. The weekly pool-care schedule keeps the broader rhythm in their lanes. If CH stays low after the refill, the Pool Mate 8-lb increaser brings it back into band.
Related
References
- Taylor Technologies — CH role and test context
- FROG Products — 150–400 ppm reference and low-CH corrosion
- Pool Day — surface-specific starting bands and drain/refill
- Orenda — LSI inputs and the −0.30 to +0.30 band
- CDC — storage, mixing, and handling safety
Key takeaways
- CH is dissolved calcium, not pH, alkalinity, or sanitizer.
- Aim for 200–400 ppm on plaster/concrete; 150–250 ppm on vinyl and fiberglass.
- Test with a drop kit before dosing; strips are trend checks.
- Raise a confirmed low CH with calcium chloride, split into smaller passes.
- High CH isn’t fixed by a “reducer.” Plan a partial drain/refill or call a pro.
- Scale-control and sequestering products manage deposits, not dissolved calcium.
- Don’t mix chemicals, don’t drain blindly; call a pro for heater or cell scale.